Step-by-Step Guide to Drawing Simple and Beautiful Flowers for Students
This work has been verified by our teacher: 24.03.2026 at 12:02
Type of homework: Essay Writing
Added: 23.03.2026 at 10:54
Summary:
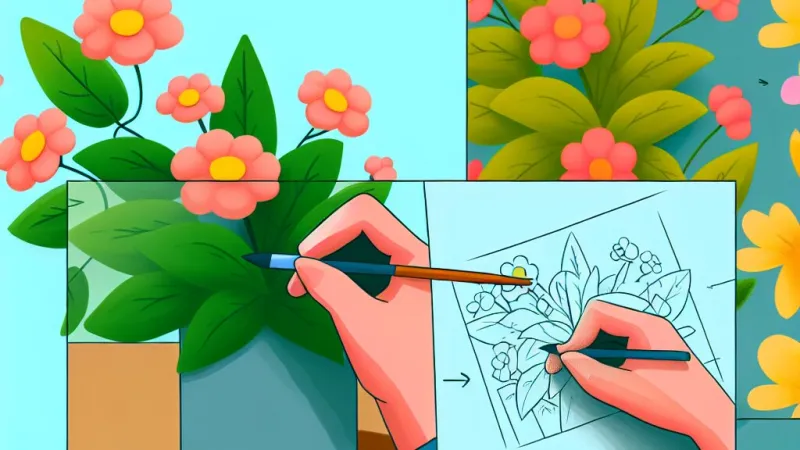
Discover how to draw simple and beautiful flowers step-by-step, enhancing your art skills and creativity with easy techniques perfect for students. 🌸
Easy Flower Drawing: A Journey into Artistic Expression
Flowers have been intertwined with Indian culture and art for centuries. Whether it is the delicate marigold strings that decorate our temples or the intricate floral motifs in Madhubani and Warli paintings, flowers have always held a position of grace and charm. For students, especially those taking their first steps in art, drawing flowers offers a perfect starting point. Flowers are not only simple in form but are also universally appealing, making them a favourite theme in drawing competitions, class projects, and as a hobby. Engaging in flower drawing nurtures creativity, provides a calming escape from academic worries, and hones the power of observation.
This essay aims to serve as a friendly, step-by-step guide for mastering easy flower drawings. It will walk you through the essentials—from observing real flowers to adding vibrant colours. Through this journey, students will realise that anyone can discover their hidden artistic skills with patience and a few basic tools. In the end, the goal is not just to teach a method but to inspire confidence and a lifelong love for drawing.
---
Understanding the Basics of Flower Drawing
Observing Nature: Study of Different Flowers
The first lesson in drawing is to observe. India is a land of floral diversity, and our gardens and neighbourhoods are filled with flowers such as roses, jasmine (mogra), hibiscus, sunflower, and the sacred lotus. Begin by noticing the variety in petal arrangements, colours, and leaf patterns. For beginners, it is best to start with simple flowers like daisies or lotuses, which have clear, repetitive shapes easy to replicate.Observation goes beyond just glancing at a picture. Take a real flower—or even look at the rangoli designs at your doorstep—notice the symmetry of petals, how the leaves curl, and the way the stem curves. Many traditional Indian artforms, like the floral patterns in Rangoli or Mughal miniatures, encourage such close study of real flowers.
Essential Drawing Tools and Materials
You do not need an expensive art kit to start. An HB pencil is ideal for making light outlines, while a 2B pencil adds depth and shading. Keep a good quality eraser (a soft one, so the paper is not damaged), a sharpener, and blank drawing sheets or a sketchbook. If you wish to add colours later, a set of coloured pencils or crayons is sufficient; even sketch pens or ordinary school watercolours will do.Understanding Basic Shapes and Lines
Flowers may look complicated, but most can be broken down into basic shapes—circles for the centre, ovals or teardrop shapes for petals, and elongated lines for stems. Practising drawing these shapes with freehand will develop your control. Try warm-up exercises, such as drawing 10 circles in a row or wavy lines for stems. The discipline of controlled movement will show its impact when you attempt petals and leaves.---
Step-by-Step Flower Drawing Technique
Step 1: Sketching the Outline
Start your drawing with a light outline. A flower’s centre is generally a circle or oval—draw it softly, so you can erase it later if needed. Around the centre, mark where the petals will be. Use lines or dots to plan out how many petals you want and arrange them evenly, almost like the spokes of a cycle wheel.Next, draw each petal around the centre. For a daisy, petals are long and even; a lotus has broader, pointed petals. Do not press too hard—gentle lines allow you to adjust if required.
Step 2: Adding Details to Petals and Leaves
Now, give shape to each petal. Instead of leaving them as plain ovals, make the edges wavy, pointy, or curved based on the flower you are drawing. Study how petals overlap—rarely do they lie flat; usually, one slightly covers another. This overlapping, seen in real lotuses or marigolds, lends depth to your drawing.Moving to the leaves, observe their size and venation. Indian flowers like hibiscus or rose have leaves with clear veins, almost like a spider’s web. Sketch these veins gently inside each leaf; notice how the main vein runs from the base to the tip, with smaller ones branching out diagonally.
Step 3: Enhancing the Drawing with Texture and Shading
A flower’s petal is not merely flat but catches light in different ways. To make your flower look natural, add shading. Imagine the sunlight falling on one side—where the light hits, keep the area lighter, and where the petal bends or is behind another, darken it.Use techniques like hatching (drawing parallel lines) for gentle shading or cross-hatching (intersecting lines) for darker areas. Softly increase the pressure of your pencil to show darker shadows. With time, you will see your flower appear three-dimensional, as if ready to be plucked from the page.
Step 4: Final Touches and Refinement
Once you are happy with the main shapes and details, rub off any extra guidance lines gently, so the surface remains neat. Now you can darken the outlines of the petals, leaves, and stem to make them stand out. For an extra touch, colour your drawing. A red for rose petals, yellow for sunflowers, or pink for lotuses. You may even leave your flower as a shaded pencil sketch for a classical look.---
Common Challenges and How to Overcome Them
Difficulty in Drawing Symmetrical Petals
Many beginners struggle to make petals even on all sides. One way to improve is to first divide your flower centre into equal segments with very light lines, similar to cutting a cake. These act as guides for where each petal should go. Practise by drawing simple geometric patterns like rangoli or kolam; these help train your hand for symmetry.Problems with Proportion Between Flower Parts
Sometimes, the petals may be too big for the centre, or the leaves may appear out of scale. After drawing, compare the parts—does the centre look lost among the petals? Measure with your pencil: is each petal the same length from the centre? If not, erase lightly and adjust.Getting Shading Right to Add Realism
Shading can be tricky at first. Practise separately—take a blank sheet and make gradients by varying pencil pressure. Observe photographs or real flowers to understand where the shadows and highlights fall. Always shade with a sharp pencil and use the side of the lead for softer effects.Maintaining Patience and Managing Frustration
Learning to draw takes time. Everyone’s first flower sketch is imperfect. Remember, even skilled artists started with simple lines. Set aside just ten or fifteen minutes daily to practise. Every mistake you make is an opportunity for growth—note what went wrong and try differently next time.---
Practical Applications and Encouragement
Using Easy Flower Drawings in School Competitions
Art competitions in Indian schools often choose "flower scene" as a theme. To make your entry stand out, ensure your drawing is neat—erase all unnecessary lines, write your name on the back, and, if possible, use a small border. You can also photograph your progress (starting from outline to colouring) to see your improvement over time.Flower Drawing as a Hobby and Stress Buster
Drawing flowers can be a wonderful way to relax, much like meditating or listening to music. Many students find that drawing after classes helps them unwind. Maintain a portfolio or diary of your doodles—seeing your growth week by week is strong motivation. Simple flower drawing can be combined with making greeting cards, bookmarks, or even decorating school projects about nature.Exploring Variations: From Simple to Complex Designs
Once you are comfortable with basic forms, try more complex flowers—sunflowers with their clustered centres, or even stylised floral patterns from traditional Indian textile designs. Experiment with different media like oil pastels, watercolours, or mixing pencil and paint. Slowly, your simple flower sketches may blossom into creative masterpieces worthy of gifting or displaying!---
Conclusion
Drawing flowers, though simple, opens a vast, colourful world brimming with imagination and joy. Every artist’s journey begins with basic steps: patient observation, careful practice, and the courage to try. Use the basic tools you have, start small, and do not be afraid to make mistakes—the key to improvement is regular, joyful drawing.Let us remember that famous Indian artists, from Abanindranath Tagore to the creators of Pattachitra, started by mastering natural forms like flowers. If they could, so can you. Flower drawing is more than a skill; it is a celebration of beauty, a moment of calm, and a doorway to creativity. Take part in competitions, share your drawings with friends, or simply keep doodling just for yourself—the world surely needs more art, and every hand has the power to create it.
---
Additional Resources
If you are looking to go beyond, here are a few resources: - Books like *Step by Step Drawing for Children* by Neela Subramaniam have simple guidance. - YouTube channels such as "KidooDraw" or "IndianArtZone" regularly post easy flower drawing tutorials in Hindi and English. - Engage in online drawing challenges or workshops run by organisations like Chitra Santhe or local art groups in your city. - Practise basic patterns drawn in folk arts like Madhubani or Warli—they contain excellent floral designs for inspiration.Remember, the more you draw, the better you get. Happy drawing!
Rate:
Log in to rate the work.
Log in